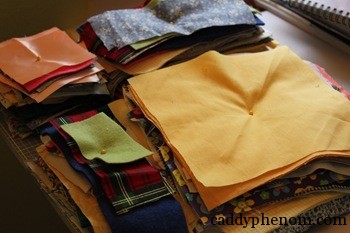
For 25¢ I got a pattern from 1984 which I plan to use to the full extent. Making as many pairs of shorts as I can.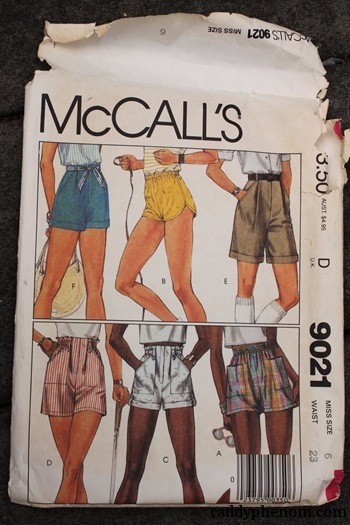
Short.
Tucked away in my bag
This is what I had as my pencil pouch for most of the last semester of my sophomore year. I loved it. Every class I would take it out, set it on my desk, zip it open and get my pen or pencil out.
My Pencil/Pen Schedule:
1st: Phycology Pen
2nd: Biology- Pen
3rd: Pre-Calc- Pencil
4th: History- Pen
5th: English- Pen
6th: Art- Pencil
7th: Spanish- Pen
Of course, this was subject to change if I couldn’t find a sharp pencil or working pen.
But I used it every day. EVERYDAY. And pretty soon it started looking like this at the bottom: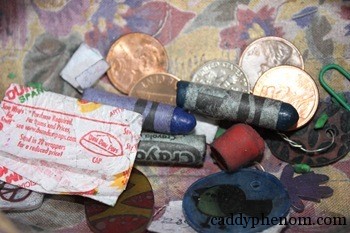
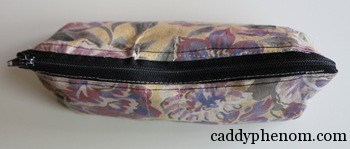
However, if I covered it up with my pens and pencils it looked nice and neat..ish, but I decided one day to make a new pouch, I didn’t consider the diminishing amount of school days. I Googled a tutorial and found one at Annie Get Your Glue Gun. Using the tutorial, and an old Hawaiian shirt of my dads, and some leftover fabric, I created a new pouch, with a month and a half of school left.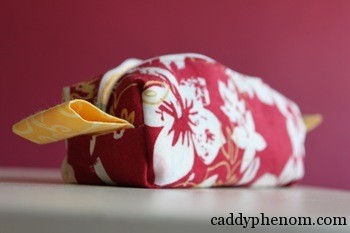
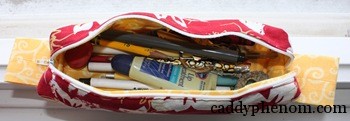
I sat it on my desk and pulled out my pen or pencil every day. It sat through finals, fully stocked with working pens and freshly sharpened pencils.
Schools out now, this little guy is tucked away in my bag, along with my notebook. Just perfect for jotting notes on the run.
Snip Snip
6 Weeks in the Making
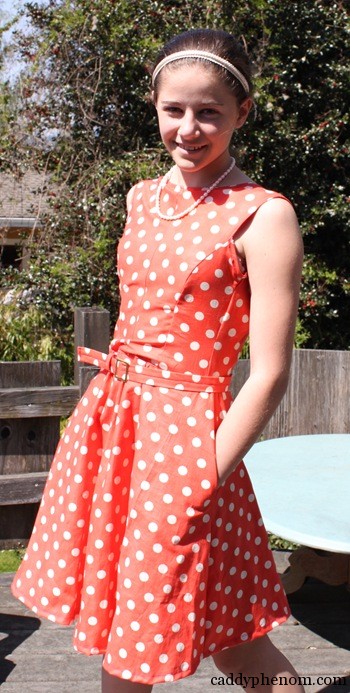
Since Spring Break I have been working on a dress. A new dress. A difficult dress. A dress that was harder than anything I’d done before. I took plenty of breaks. Got frustrated lots and lots. But now I’m done!
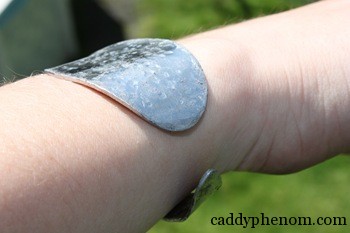
I also went to an estate sale and bought at spoon for 25 cents. I hammered it this morning on an anvil and created this.
Duffel Bag Tutorial
When I went to my former middle schools’ rummage sale a couple of weeks ago. I found a table-cloth that I bought to use as fabric. Along with a lace curtain, also to use as fabric. A couple of months ago I went to the the bins and got a bunch of clothes to use as fabric. One dress I’m using as the lining. This bag took me a weekend, plus 10 minutes a week later to put the handle on.
My material;
· 2 different fabrics, one a lining, one an exterior
· A 14″ zipper, heavy-duty. I got mine thrifted and it has a very satisfying zip to it.
· 1 1/3’ yard long strap
· Thread
· 1/2′ lace
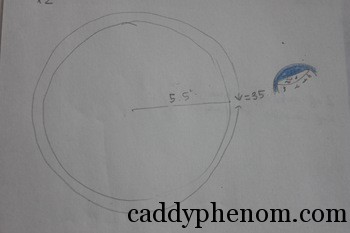
I started by figuring out how big I wanted the bag, I measured the radius of the (then invisible) bag ends.
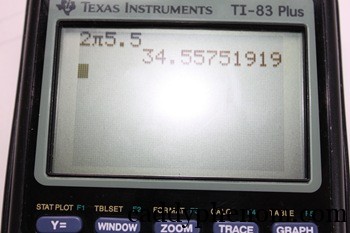
I used that to find the circumference. 2п radius. I used 5.5″ as my radius. I guess geometry was important to take. That circumference will be used, not only to make the circle, but also to help figure out the dimensions of the body of the bag.
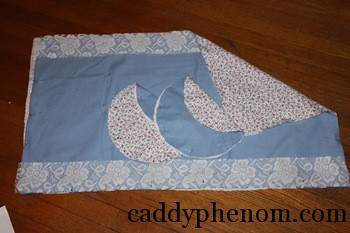
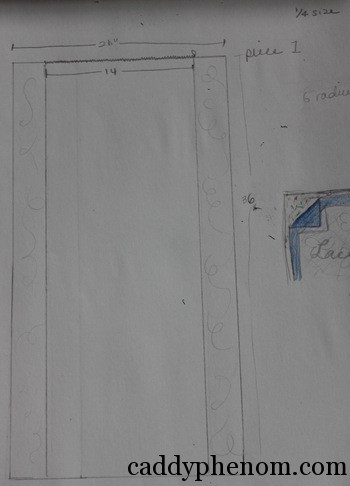 The middle of the bag I just a strip of table-cloth as long as the circumference. And as wide as I wanted. I wanted to have strips of lace on the ends so I added 2 pieces of 3″ by the circumference.
Time to cut out the pieces. One out of the tablecloth, one out of the lining 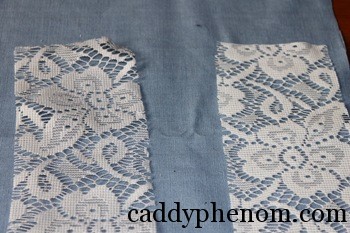
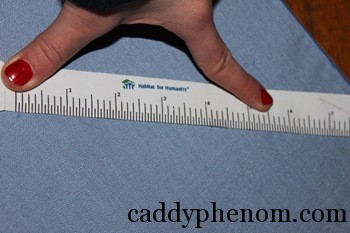
To draw the two circles, use a ruler to mark 5.5 inches in various places. Make sure you have a middle dot to measure from. Connect the dots and cut out two of the tablecloth and two of the lining. And easier way would be to use a compass. But I didn’t think of that and chose to use this painstaking method.
When all your pieces are cut, pin them together. Remember, wrong sides together!
Baste all pieces as pinned, so the lining is held onto the exterior. To baste (don’t worry I had to Google it) is just to sew using big stitches so they can easily be taken out. 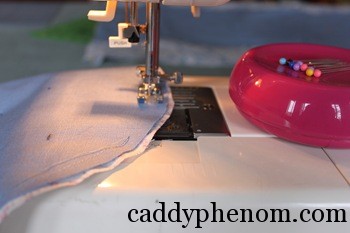
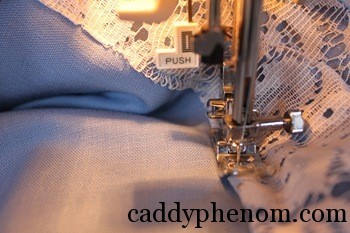
Now you need to hem the lace. Just tuck the edge under and sew it.
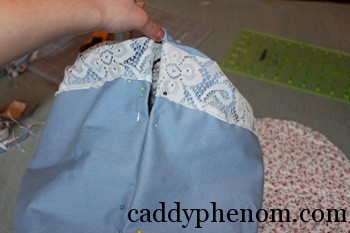
Pin the circle to the rectangle middle. Inside out… of course.
Eventually you’ll get to this point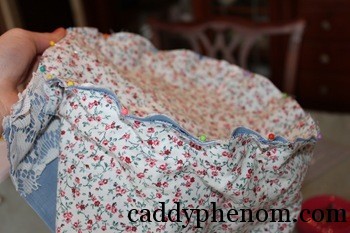

SEW. And repeat on the other end. Once outside out, it’s done except for the zipper and strap.
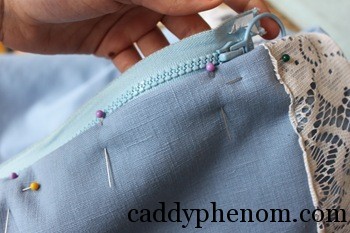
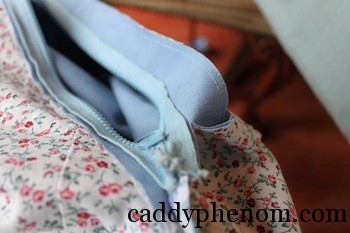
For the zipper, pin the extra fabric underneath.
Sew the zipper to the first side of the zipper.
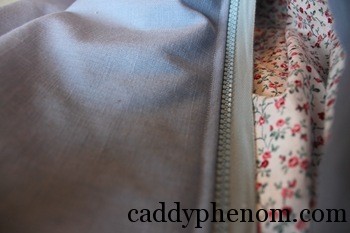
Sew the other side of the zipper to the fabric. Make sure they line up.
Trim the excess off the inside of the bag.
Congrats, you’re almost done. At this point, check for structural mistakes. Make sure it’s secure at all points.
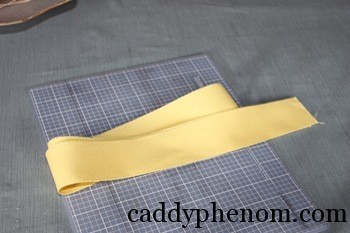
Time for the strap. I used a yard and a third of yellow thick canvas like thing that I got at a fabric store.
Sew the strap to the sides of the bag, using a square as to make it extra secure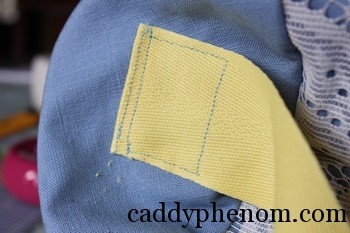
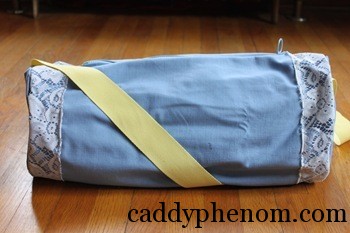
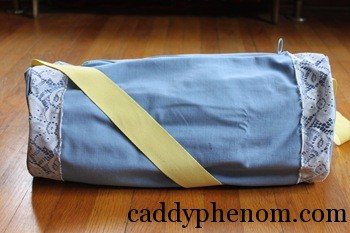
Done! It looks a little lumpy in this picture, thanks to the blanket I stuffed in there to give it shape. I wasn’t in the mood to pack it full of clothes just to have them be taken out.
